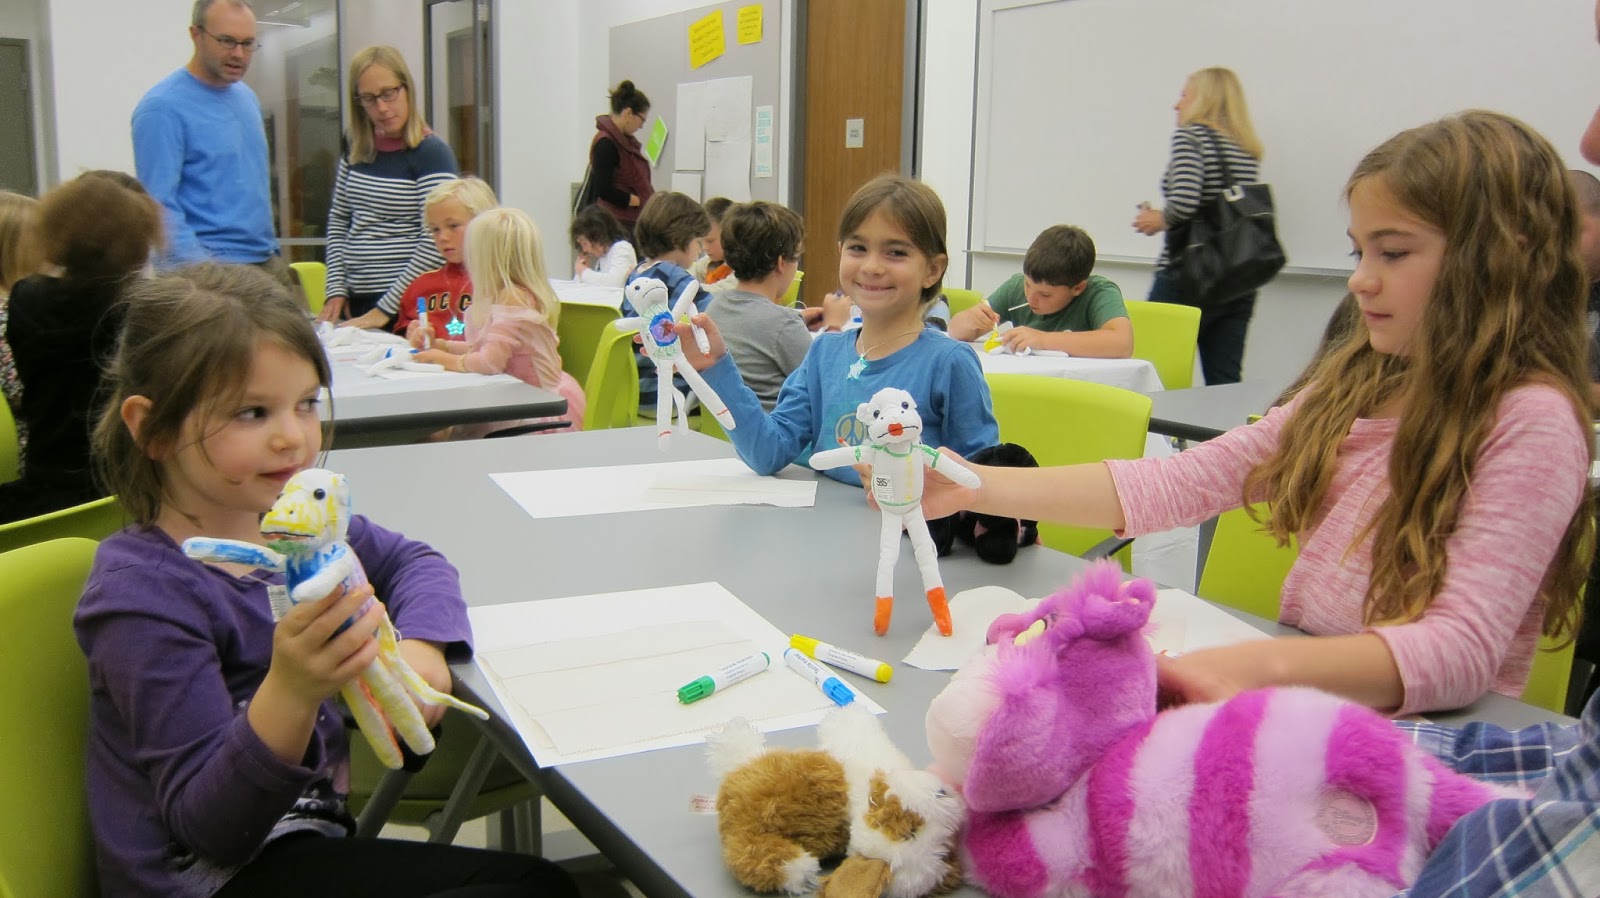
Thursday, May 16, 2013

Stamping My Passport

Webby here!

On Wednesday I took a stroll around the grounds and made lots of new friends. Fourth graders from the East Montpelier School were at Shelburne Museum for Passport to Learning, our interactive workshops for kids in kindergarten through eighth grade. 

Hanging out with (L to R) Luke, Dylan, Arianna, and Jordan
I asked them about their favorite part of the day. Luke and Jordan loved testing brains versus brawn while using pulley systems to load cargo on the Ticonderoga. Caroline and Carmen agreed that playing judge at the Castleton Jail was fun, especially when their group "got to act out the skits." Claire told me that she shopped till she dropped at the General Store.
Here I am with (L to R) Caroline, Claire, Peyton, and Carmen
I stopped for awhile with one group to test out a new contra dancing workshop at the Settlers' Barn. It was a blast! I learned how to swing my partner and do si do.
Have you ever come to the Museum with your school? What was your favorite spot? Leave me a comment to let me know!

--Webby

Thursday, May 2, 2013

Create-a-Scape


Webby here! 

One of my very favorite spots at Shelburne Museum is Pleissner Gallery, which features the paintings of Ogden Pleissner. Like me, Pleissner loved the outdoors. One of his hobbies was fly fishing, and he painted a lot of beautiful water scenes of his favorite spots to fish.

Pleissner was a lifelong artist. When he was five years old he loved the wallpaper in his stairway at home because it was covered in tiny boats. One day, when his mom wasn't looking, he drew people in all the boats with a crayon! Even though he got in trouble, it shows us just how much he loved to draw.    

Pebble Beach Golf Course, ca. 1950-1965, watercolor on paper.
©Ogden M. Pleissner
Looking at one of Pleissner's landscapes is like standing at a window where you can see way into the distance. He has divided the painting into a foreground, which is what's right in front, the middle ground a bit farther back, and the background reaching to the skyline. The artistic term for this is "composition."

I thought we could try making our own compositions with a foreground, middle ground, and background. Here's what you'll need:
  • Paper
  • A pencil
  • Crayons (colored pencils or pastels--chalk or oil--would work, too!)

Using your pencil, draw three lines to create a foreground, middle ground, and background. You don't want to draw them straight across the page; instead, make them wavy and crooked.

Next, draw something in each section. I drew a house in the background, a tree in the middle ground, and a turtle in the foreground, but you can make your composition whatever you want! I also drew a road that comes from the background into the middle ground. Hint: draw it wider as it gets closer to the foreground.

Finally, I colored in my picture!
What Ogden Pleissner-inspired landscape will you make? Email me your creation at webby@shelburnemuseum.org for a chance to appear on my blog. Don't forget to sign your artwork!

Go here to learn more about our upcoming exhibition in Pleissner Gallery, and visit the Museum when we open on May 12th to see the paintings. 

--Webby

Thursday, April 18, 2013

Webby's Vacation

Webby Here!

Things are getting really busy at Shelburne Museum as we prepare for the season opening on Sunday, May 12.  I have been working so hard preparing my Dive In with Webby cards that when my friend Denise and her family asked me to go with them on a cruise to the Bahamas, I simply could not say no.   Here are some pictures from my wonderful adventure to the tropics!

Off we go to the airport.  I made sure to buckle up and kept my suitcase with me at all times.

What a view from the window of our ship's cabin room. Boy, that cruise ship looks nothing like steamboat Ticonderoga.

One of the first things I did was put on my sunglasses because I was ready to enjoy...

Lounging under the sun! Do I look as relaxed as the figures in Edouard Manet's Au Jardin (In the Garden) painting on display at the Electra Havemeyer Webb Memorial Building?
Edouard Manet (1832-83) Au Jardin (In the Garden), ca. 1870, oil on canvas. Collection of Shelburne Museum.

Denise let me have some soda during lunch!

As well as some berry smoothie for an afternoon snack.  I had so much sugar that I had a little bit of a tummy ache.  Denise gave me something to settle my stomach, so there was no need to visit an Apothecary.

Here I am, enjoying the beach at our first port.  I spent all day working on my sandcastle fortress.  When I'm not at the beach, I like to build and create all sorts of things at Owl Cottage.

Denise and I thought all the servers were so great on the ship. They even let us take this picture with them.

The family tried to teach me how to play the game cornhole, but I didn't understand the rules very well.  Perhaps I'm too used to the games that are on display at the Toy Shop.

But the coolest thing about my trip is that I met so many new friends:

Like this fellow.

I had a fun dance party with my new elephant friend before bed.

And I even let this new buddy borrow my sunglasses while we lounged together.  We chatted about the all-new exhibit of Patty Yoder's beautiful hooked rugs on display at the Hat & Fragrance building for this season.

One day we played trivia!  The person running the game let me read one question to the other players.  I answered all of the questions using what I have learned from Shelburne Museum.


And I won the game!  They gave me lots of medals. 

Once the ship returned to the mainland, it was time to go back home.
I made it back safe and sound to the Museum.  I can't wait to show everyone my new hats and large beach towel.
I feel so refreshed after a fun vacation with Denise and her family. I'm now ready to get back to work helping the staff prepare the grounds, programs, and events for another great season. Tune in next time when I share how you can create landscape art.

--Webby 

Monday, April 8, 2013

It's All About the Light!

Webby Here!

Have you ever painted or drawn a scene you saw outside?   Did you make your picture outdoors or did you create it later, entirely from memory?  What about the scene inspired you to create your piece of art?
Here is a picture Ayesha made last season at Owl Cottage! 
Click here to see other pictures done by amazing artists at Owl Cottage.

Whether it is violent waves washing up on a rocky cliff or tall trees flickering back and forth with the wind in the quiet countryside, the outdoors has been a popular subject for artists for hundreds of years.  But out of all these artists, there was one painter whose works remain some of the most famous outdoor scenes in the world.  Shelburne Museum’s Electra Havemeyer Webb Memorial building has some excellent examples of these landscape paintings by artist Claude Monet.

Claude Monet was an Impressionist painter, which means he liked painting real life moments as they were actually happening.  Other artists of that time would recreate outdoor scenes from memory or a picture while working entirely inside a studio.  Monet, however, preferred to start and finish his paintings outdoors in front of the actual scene. 


Les glacons (The Ice Floes) 1880, Claude Monet

But why?  To Claude Monet, his paintings were not about the subjects.  Instead, he was interested in recording how the light hit the subject exactly at the moment he was painting.  That’s why Monet painted many works of the same object at different times of the day and even different seasons of the year.  Click here to go to Columbia University's fun and interactive study of Monet's series of the Rouen Cathedral in France.  It truly is amazing how not one of these paintings look the same!

As the sun moves across the sky, the light it casts causes colors to look different and shadows to grow and shrink.  Do you ever notice how the light of sunrise can be bright and intense while the sunset appears low and calm?   Monet was an expert at showing these differences of light on his canvas by carefully choosing different colors of paint and carefully studying the shadows. 


The Thames at Charing Cross Bridge, Londres
(The Thames at Charing Cross Bridge, London)
1899, Claude Monet
Meules, effet de neige (Grainstacks, Snow Effect)
1891, Claude Monet
Interested in capturing light like Monet?  All you need to be an Impressionist is a camera and a scene.  Since I have been cooped up inside for these long winter months, I chose to be a part of the scene.  Take pictures of your scene during different times of the day.  To really get a fun assortment, take pictures over a couple of days, a week, or even a month.   If you really want to see some differences, try taking pictures of the scene during different seasons.  Don’t forget to label each picture with the time of day!
8:30 a.m. & Cloudy


10:45 a.m. & Partly Sunny
Feel free to take pictures of your scene from all different angles and distances.  Pick the ones that you really like and compare the colors and shadows.  Is there one that is really bright?  How about dull?  Are the shadows small or really big?  Which time of day do you think shows the best light?

2:00 p.m. & Sunny
4:30 p.m. & Sunny
Send your pictures to:  webby@shelburnemuseum.org for a chance to appear on my blog. 


Be sure to check out Shelburne Museum’s great collection of Claude Monet’s paintings at the Electra Havemeyer Webb Memorial Building and my new Dive In cards site starting on May 12!

-- Webby

Thursday, March 21, 2013

You Spin Me Round!


Shelburne Museum's Toy Shop is home to many spectacular toys. Amongst all there is to see, my favorite toys at the shop are those that 'trick the eyes.'  These are known as optical toys. 

Learn more about the fascinating world of stereopticons by clicking here.
(Photo from Turtle Point Press's Traveltainted Blog)
Like this stereopticon! Stereopticons make pictures look like they are really in front of you and not flat images on paper. This magic is done by showing our eyes two pictures instead of one: one seen by only the right eye and one for only the left. Our brains then combine both pictures to make one super rich image that looks real.


Stereopticons were expensive toys for some families in the 1800s. But let me introduce you to a simple optical toy that you can make at home: the thaumatrope.
 
A thaumatrope--also called a 'turning marvel'--is a disc with two different images on each side. The disc has strings attached on opposite ends. The holder of the thaumatrope twists one of the strings. Once it is completely twisted up, he or she takes hold of both the strings and allows the disc to start spinning. Here's the cool part: our eyes continue to see an image for a fraction of second after it has left our sight. So as the thaumatrope's images keep spinning in and out of view, our eyes make the two images appear as one picture.
You can find the original source of this photo by clicking here.


Can you imagine the two images above as one? Spinning this antique thaumatrope would make it look like the hound is chasing the wild birds!


Let me show you how easy it is to make your very own thaumatrope! Here's what you will need:

· Card stock, recycled cardboard, or posterboard (you'll want something thicker than paper so that the attached strings do not rip through your disc)
· String (for large thaumatropes)
· Rubber bands (for small thaumatropes)
· Pencil
· Colored Pencils, Crayons, or Markers (optional)
· Glue stick
 
I found this gift box lying around to make my thaumatrope. Think green and find an old cardboard box, poster board, or perhaps an old birthday card to make your thaumatrope disc. If what you find has images already on it, trace your disc onto regular paper, draw your designs on the paper, and then glue your illustrations on the disc faces.


I also found a cake round to use as my disc template. I made my thaumatrope really big so you could see, but I suggest making yours much smaller than mine (no wider than 3 inches). It is a lot of work twisting the string to get a big disc spinning!


Now that I have my discs, I'm ready to draw! When you are ready to draw, I recommend picking two images that 'tell' a little story. Here are some ideas to help get you started:
 

Man on a Horse
You can find the original source of this image by clicking here.


Flowers in a Vase
You can find the original source of this image by clicking here.


Bird in a Cage
You can find the original source of this image by clicking here.


Looking for more inspiration? Click here to see even more examples of thaumatropes!


I used a picture of myself to help me draw a likeness on one circle. Can you see the thought bubble on the other disc? What do you think I'll be thinking about?


My friend Paige helped me outline my drawing with a black marker.


It's time to punch some holes! Make sure the holes line up on each on circle.


Carefully glue the two sides together. Make sure that the holes line up, but also make sure that you glue one image upside down, just like how Paige is gluing the image of me in the picture above.


Finally, you only need to attach the strings! For large thaumatropes like mine, you'll either need really strong rubber bands or good string. But, for small thaumatropes, rubber bands work great.
 
So what was I thinking about on my thaumatrope? Watch this video of my 'turning marvel' in action to find out!


I was thinking about Claude Monet's Charing Cross Bridge, London, which you can see at the Electra Havemeyer Webb Memorial Building when the Museum opens for the season on May 12! Tune in next time, and I'll show you a fun art activity based on Monet's fabulous painting.